Tuesday, March 15, 2016

Starting a Vegetable Garden


I started working on my vegetable garden last week and can't wait until I have some fresh veggies! I made a raised garden so I could add plenty of good soil to create a really good environment for the plants. Here is how I made it:

First, I found the spot in my yard that gets the most sun and the most level. I the measured to see how big of a garden I wanted to make. I decided on 8'x4' (the planks I decided on at Home Depot are 8' long so that worked out perfectly) and used 2"x8" planks.
I took Waylon with me to Home Depot to get the wood. I was so proud of him because he was so well behaved! (which isn't the usual when out in public )
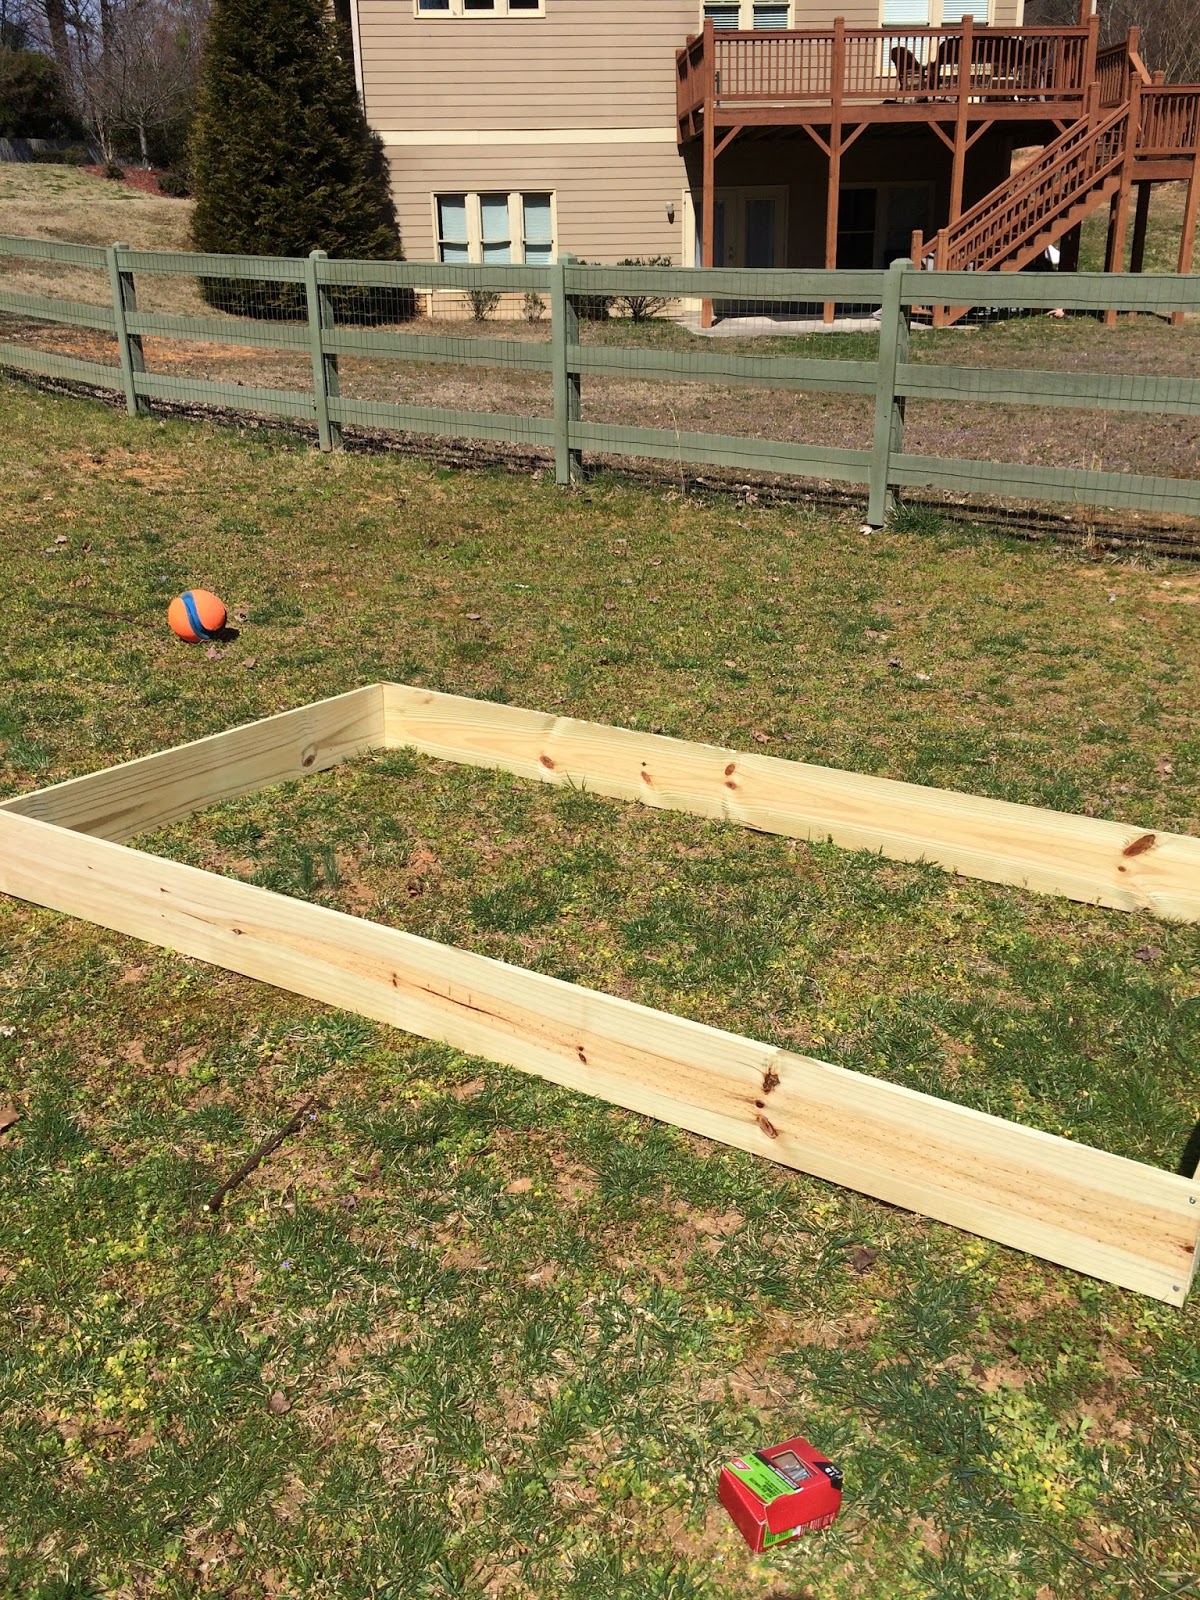
I bought 3 planks and had them cut one in half for me at Home Depot. When I got home, I put them in that spot that I picked out to make sure I still liked it there and to see how I was going to put it together.
I picked the boards up and put them together like so. At first I thought I would just hammer some nails in to keep them together. Well, that was not easy to do and probably would've taken me weeks!

So, I got my electric screwdriver/drill out to help with the job.
I put this screw in half way, then held the other board up to it and screwed it in completely.
I anchored with one screw all the way around for drilling and nailing.
Which created the frame. 
I used this drill bit and galvanized nails to secure the planks together.
It helps to hold the boards to keep them lined up for drilling.

I tried to drill straight through to the other board and to drill enough space for the nails that I had.
Then, I just nailed them in.
I ended up doing one screw and two nails. That seemed to be enough as it felt pretty solid. I even moved it around a little once I had it built to get it in the right spot.
Built!
Once I had my perimeter built, it was time for the really hard work- tilling the ground to loosen up the soil and filling the bed with healthy soil, manure, and organic compounds.
I started in a corner and used my shovel to tear up the grass and soil by turning it in the ground.
I was already sweating at this point...
But I finished somehow! It took me about 2 hours to till the ground and that included a few water and rest breaks. My arms felt like Jello after this, but I felt good about what I had just done!
Now, time for the dirt! I bought all of my soil, etc. at Kelli Green Garden Center- a local place 5 minutes from my house. They were so helpful because I really had no idea what I needed or how much. I ended up going with 3 different ingredients. Five 40 lb. bags of cow manure, 5 40 lb. bags of organic soil, and 2 60 lb. bags of a soil/compound mixture.
This is the soil/compound mixture which is used by Kelli Green themselves on all of their plants.
I started filling the bed with the manure first.
And used 2.5 bags for the bottom layer.

Next, I added the organic soil- 2.5 bags of this also.

For the third layer, I used one bag of the Sungro. 
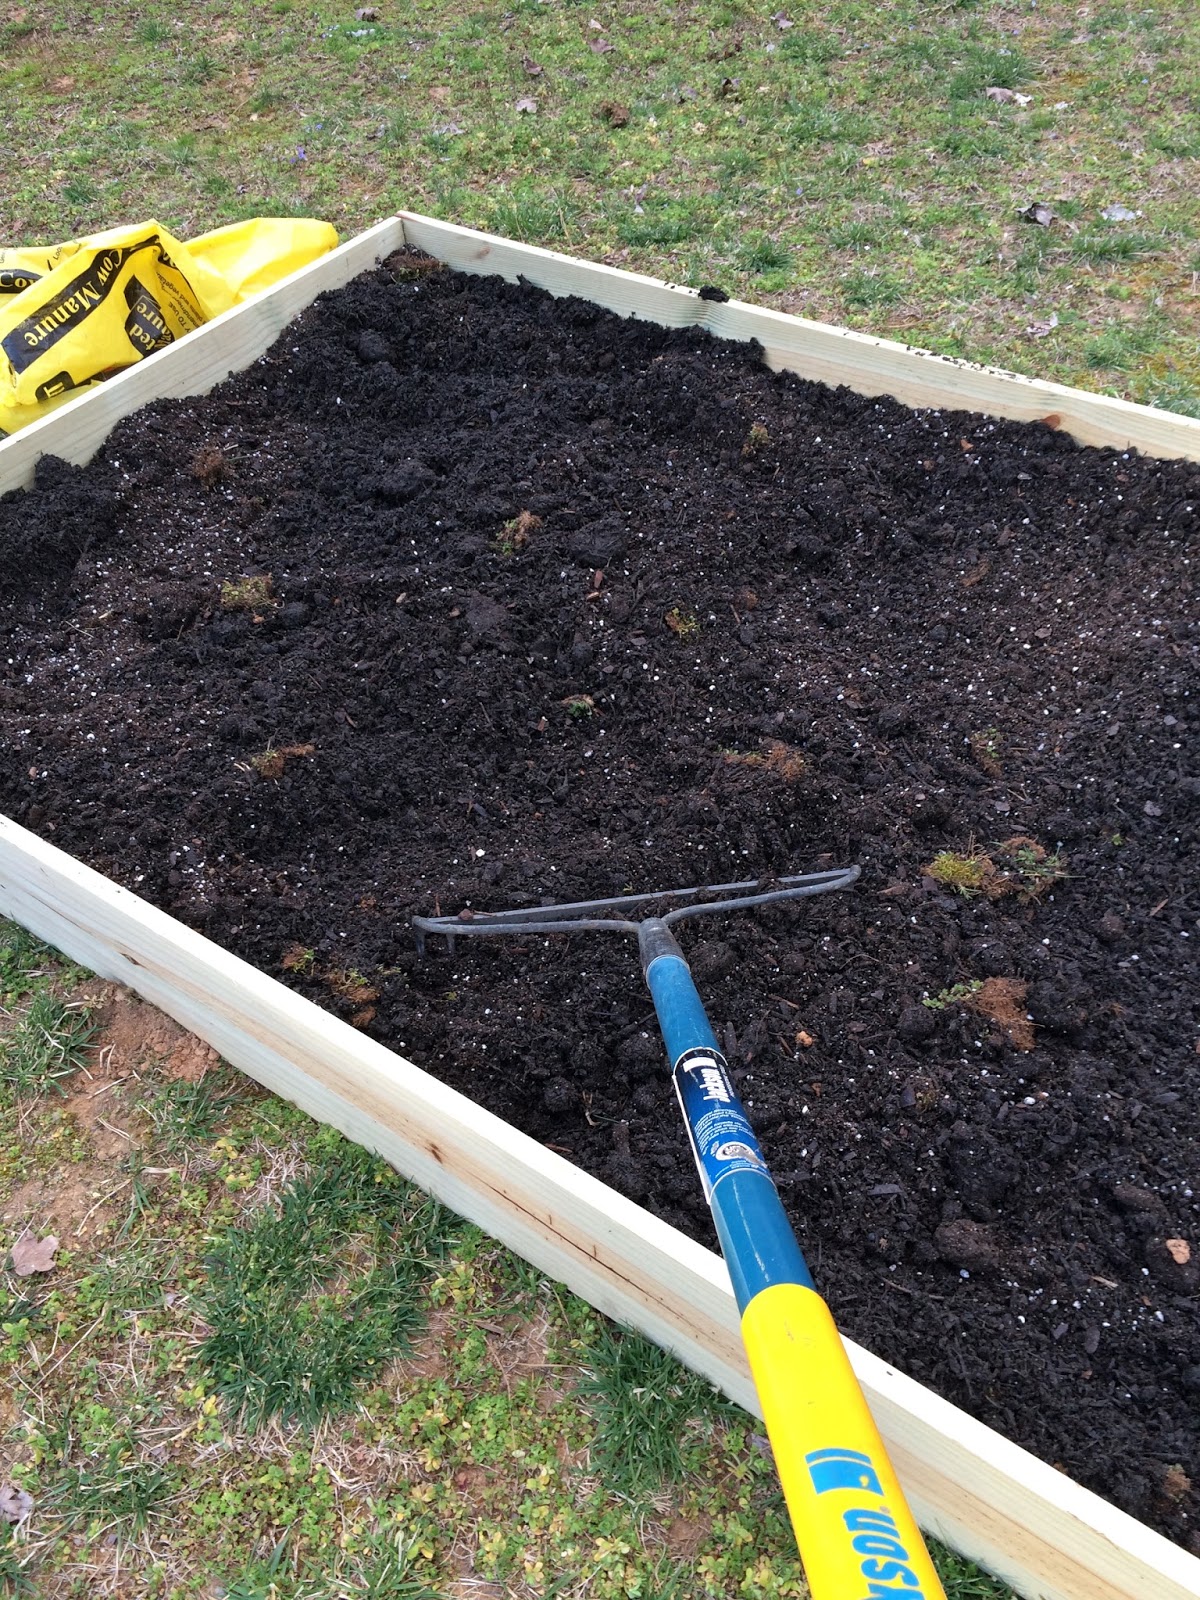
This is what it looked like after the first 3 layers.
After each layer, I used the rake to mix it up and even it out.
I did the same thing over again.


Finished project! (Minus the 2nd bag of Sungro- I waited to add that because I wanted to see how the soil went down after watering) I have since added that bag and filled the bed to the rim. I have also planted a few vegetable plants in it and started some seeds as well! I'll post some pictures of those soon :) Please comment below if you have any questions or advice about vegetable gardening!


Wednesday, February 3, 2016

Flower Basket

Last weekend I went thrifting with a friend and found some great stuff! One of my favorite finds is this basket- $1.99 at The Hope Store. I put some dried flowers in it and it's complete! 

Thursday, January 28, 2016

Staining a Wood Door

Over the past couple of weeks, I have been staining this knotty alder wood door. This was my first staining job, and it came out pretty well! Now I know what to do and what not to do for next time! We're going to be replacing some doors in our house, so there will be more to come!

Before:
After: 

Here are the materials that I used: 
Medium grit sandpaper, tack cloth, paintbrushes (specified for oil stains and polyurethane),  wood sticks to mix the cans, MINWAX pre-stain, stain, and polyurethane. 
I originally bought indoor poly; however, after doing more research I found out that I would need the Spar Urethane Poly for a door- this will help protect the wood from rain, sunlight, cold, heat, etc.

Don't forget your face masks! The pre-stain, stain, and poly all have VERY strong odors. In fact, I can still smell it in our basement even though the door has been gone since Monday. 
Other materials I used: old t-shirts for staining and mineral spirits for cleaning the brushes.

I watched a bunch of videos and did a lot of research on how to stain knotty alder wood and then I got started! 

First, I lightly sanded one side of the door and wiped it down with a tack cloth after to get all of the dust off prior to putting anything on the door. Sanding the door helps open the pores in the wood to allow it to take in stain better.

Next, I pre-stained: (I started and completed one entire side of the door, then flipped it and did the other side): 
I applied the pre-stain with a 3 in china bristle brush. I made sure to get all of the corners and grooves. The pre-stain helps condition the wood and prime the surface so the stain goes on easier and more even.
I let this dry for 15-20 minutes.
After the pre-stain had time to soak in and dry, I applied the stain. I started staining with a brush because I thought it would be easier to get into the grooves that way. I only stained a little bit of the door this way as it did not work well for me. Using an old t-shirt that I cut up worked much better. It was easier to get the stain on and made it look a lot better. The color I used is English Chestnut.
This is after one coat. It takes 8 hours for the stain to completely dry, but you can put on another coat in 4-6 hours. Keep in mind that the temperature of the air can affect drying times. I was working in our basement when it was 30-40 degrees out and I had doors and windows open. Lower temp can lead to longer drying times, so I let the stain dry overnight before doing a second coat.
Lastly, I applied the Spar Urethane. 
It has a light amber color, so it does make the stain seem a little darker. I used the semi-gloss because I wanted a shine but did not want it to be too glossy. I applied two coats of poly on each side using a 2.5 in China bristle brush. 
Here is what the door looks like up!


I am really happy with how it came out! Knotty Alder wood has so much character and is really fun to stain because the stain brings out all of that character.

Something else I had to do a lot of research on was how to clean the brushes after using them in oil based pre-stain and polyurethane. Soap and water does not clean them, it actually causes the oil to harden on the brush. This is what you will need: a can of mineral spirits from the hardware store, tupperware, an old coffee can or something that seals (to pour the used mineral spirits in), a wire bristle brush, and paper towels. Set the brush in the tupperware, pour some mineral spirits over the brush and scrape with the wire bristle brush- do this 4-5 times. Then, squeeze the brush to get the excess out and wrap in paper towels (be careful not to wrap too tightly as that will deform the bristles). Pour the used mineral spirits in your container and seal it. That's it! You can leave the brushes in the paper towels until you're ready to use them again.

Tuesday, January 12, 2016

Decorating our bedroom

Our bedroom has lots of unused wall space which I'm sure will get filled up over time. Today, I hung these picture frames above our bed and felt like they made our room much more cozy! 
I set the frames on the bed to get an idea of what they would look like and how to space them. 
Then, I measured how far apart I wanted them and marked the wall. I put the u-hooks in and hung them up! I also went up to Walgreens and printed out a few pictures in black and white to put in the frames. 


Thursday, January 7, 2016

Bye bye holiday decorations

Today, I felt like I was ready to take all of our holiday decorations down and undress our tree. I haven't been in a hurry to do so because I love the way everything looked and the festive spirit it all gave off. However, I'm ready to put the holidays and 2015 behind me and jump into the new year! Here is how I put away all of my decorations and ornaments in under an hour. 

First, I gather all the decorations and remove the oranaments from the tree. I then place them all in one central location. 
Next, I grab my plastic bins out of the garage. So far, I only have three of them but I'm sure my collection will continue to grow! 

I keep all of the boxes that the ornaments came in so I can safely store them. 
I pull out all of the boxes and place the ornaments back in. I store the plastic ornaments in gallon zip lock bags. 


For now I am able to keep all of the ornaments in one container, other decorations in another, and lights in a third. 
And that's it! All of our decorations are stored away safely until the holidays! 

Wednesday, January 6, 2016

Repurposing an Old Window

Happy New Year everyone!! I'm hoping to share many craft ideas with you this year! There may be a small delay as I broke my finger on Monday :( I was hiking with my dogs when their leashes wrapped around my fingers as I was pulling them away from another dog. They were very excited and pulled the other way and well, I have my first broken bone at 28. Not the best way to start the New Year, but I'm thankful that nothing worse happened! And, I'm now learning how to do everything with my left hand. Luckily, I finished the project below on Monday before the incident!

I bought two windows at an event called "Junk Day" held in the parking lot of an antique store near me. The guy sold me the windows- both for $10. Below is the before and after of one window.
Before:
After:
I decided to wipe it off using vinegar and dish soap. Once I started cleaning it, some of the old paint started chipping off and the calk started coming out of the frame. At this point, I thought it was best to go ahead and remove all of the calk and take the glass panes out.
Cleaning the window.

Removing the calk. 
The calk came out easy for the most part. When it did not come straight out, I used the a paint scraper tool (pictured below) to brake it and scrape it out. Note: Be careful and use gloves for the project in case the glass breaks.

I was then able to pull the glass panes out of the window. This made the rest of the project (sanding, painting, etc.) much easier and meant no painters tape!!! (Great for me since I am terrible at taping straight lines)
Once I pulled all of the panes out, I wiped them down with soapy water and scraped the paint off of them with my amazing scraper tool.

Tip: If you are struggling to scrape the paint off, lay a wet wash cloth over that area for 5-10 min and the paint/calk will soften and it will be much easier to scrape off. Also, please use gloves and glasses here- the edges of the panes shatter very easily.
Before and after cleaning and scraping.
I set the glass panes aside and got back to the frame of the window.
Bare frame.

I scraped off all the old paint that I could. 

When I was done scraping the paint and cleaning the frame, I had this:
Which was a HUGE improvement from this:
Next, it was time to paint! I sifted through all of the paint samples that I have and found this color that I love:

Using a 1" brush, I painted the entire frame:
Then, to give a distressed look, I lightly brushed on a cream colored paint.

Lastly, I calked the around the panes and placed the glass back into the frame. Then, calked the over the edge again.
Calked prior to setting glass in.
Put the glass back in place.
And, calked the outer edge.
Giving me this! This is the backside of the window which I decided not to paint.
And once again, the final project:

I have not decided exactly what I am going to do with it. Thinking about putting pictures in the panes and hanging it in our house. I will definitely show you what I decide to do!